
A few people expressed interest in the Paper case,
so I've uploaded the A4 template which you can download here;
http://wiki.documentfoundation.org/File:LibO_caseA4_DraftContented_110503NS.pdf.
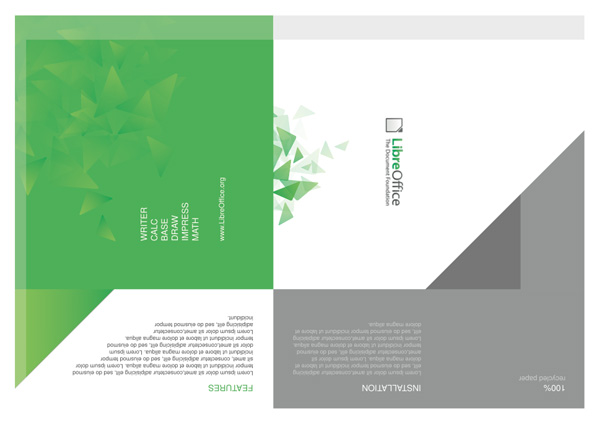
The A3 version is coming soon. Here is what the PDF looks like when you've printed it out on A4;
Please note that you have to specify that you want to stretch the page to 100% size before you print.
If you leave it at "shrink to fit page", the Design won't be printed at the right size. Enough white margin
has been left for even the oldest printers.
Once the page is dry/settled, grab a CD/DVD and then follow these steps to fold it
into the case pictured on the Papercase page.
It may take a couple of goes before you get the hang of folding it neatly.
While most of these instructions show the printed-side face-up, you will probably need to have the un-printed side facing you for most of the folds. It is just easier to provide steps this way. The part which currently needs folding is shown highlighted in red in each step.
Fold the left edge of the paper along the line where the colours are intentionally faded to provide a folding-guide. Fold away from the printed side so you can no longer see the left edge.
If you place a CD/DVD in under the first fold it will make it easier to ensure you are folding it tightly/loosely enough. The position of the CD is shown here, but remember that the CD would be placed on the un-printed side of the paper.
Next, you will need to fold the top and bottom of the paper backwards so that it wraps around the disc. These large folds will bracket the disc and hold it in place.
Here is how the printed side should look so far.
And here is how the un-printed side should look so far, with the disc visible through a narrow gap.
Where the green space and the white space meet marks the edge where the front and back faces join. Fold the green side over at this delineation. (the green side is covered here in red)

The next folds are diagonal because we need to make a point on the right-hand side so that it becomes a flap that we can insert into the other(green) side to close the case. Notice that one diagonal fold is larger than the other, to create the "document corner" look. Don't try and fold the paper exactly along the line where the grey and white edges meet, as the diagram to the left shows, some grey needs to be visible to create the impression of a "separated" green corner. And the disc is intentionally bigger than where this edge is placed.
Tuck the flap (seen here in red) into the opening between the inside brackets on the green side of the package to seal the case. The flap should tuck in neatly like an envelope. And the green corner should be showing through as a result of the bigger diagonal fold.
And you're finished. Hope that was easy enough to follow. The A3 version is on it's way soon.
And of course, here is the source SVG if you feel like tinkering;
http://wiki.documentfoundation.org/File:LibO_caseA4_DraftContentedCleaned_110712NS.svg
They are provided under three generous licenses: CC-by-SA, GNU LGPL and MPL. I haven't put real content in my Design because I wanted
to give Marketing and UX a chance to work out what they think would be best, that and localisation issues.